TRACC 2.1 Product Tip, GTFS Fare Importer and Exporter
Why might this be useful?
Like NeTEx fares, this dataset is helpful when considering the cost of travel between stops.
Importing the Data
Importing GTFS Fares is a very simple process. All that is needed are the fare related .txt files in addition to the original passenger information. GTFS Fare data is available as two versions; V1 and V2.
Viewing and Editing the Data
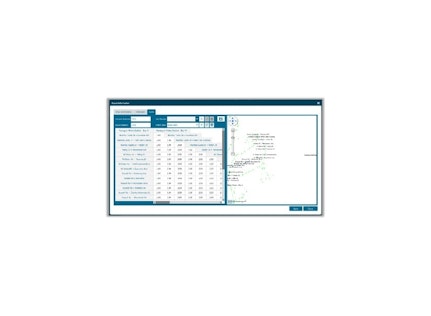
Imported fare data is available in the same window as the Route Information and Timetable. You can navigate to this view in one of two ways:
1. Services > Select Service > Select Route > Select Fares Tab
2. Stops > Select Stop > Select Service > Select Route > Select Fares Tab
Add/Edit Pass New or existing fare passes can be created
Add/Edit Ticket Type New or existing ticket types can be created
Exporting the Data
There are two formats GTFS fare data can be exported to; GTFS and Excel.
Export to GTFS:
Whole Network As GTFS Export entire public transport network as GTFS including fares if available
Whole Network As GTFS Export entire public transport network as GTFS including fares if available
- 1 Step 1: In the PT Network Tab, select ‘Whole Network As GTFS’ from the Save dropdown (A new window titled ‘GTFS And Fare Exporter will appear).
- 2 Step 2: Fare Version Choose which version to export to (V1 or V2) (*Top Tip: Be aware when exporting to and from V1 as this doesn’t support multiple Ticket Types).
- 3 Step 3: Select a Fare Version (Currency Option to choose a currency to export fares against)
- 4 Step 4: Select a Currency
- 5 Step 5: Choose a location to save the GTFS file
- 6 Step 6: Click OK

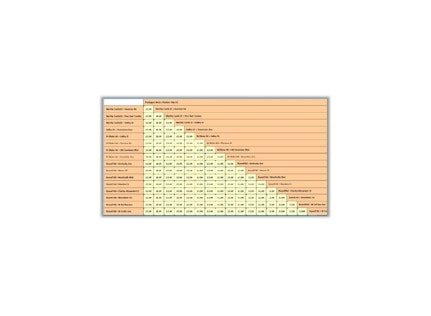
Export to Excel: Allows you to export (fares only) to an Excel file, which can be done from the Timetable window
We have released a new feature for importing and exporting fares for all modes of transport including public transport routes and timetables. This tool helps to edit fares and share results to support the planning process.
- 1 Step 1: In the Timetable view, select the ‘Export Fares to Excel’ icon
- 2 Step 2: Choose a location to save the excel file – this only saves for the route being viewed at the time.
